
Operating and Maintaining Compact Farm Machinery: A Seasonal Care Schedule
Compact tillers, chainsaws and earth augers fail for predictable reasons. In almost every case the cause is not a manufacturing defect but a maintenance routine that stops when the working season ends. This guide sets out what to check, when to check it and why each step matters, across a full year of use.
Why seasonal maintenance beats reactive repair
The economics are straightforward. A blocked fuel filter costs minutes to clean and a failed carburettor costs a working day. A loose rotor bolt costs seconds to tighten and a cracked rotor housing costs a season. Compact machinery responds exceptionally well to short, frequent interventions because the components most likely to fail — filters, blades, belts, fasteners and seals — are cheap and accessible.
The mistakes that cause most premature failures are consistent across regions and machine types:
- Fuel left in the tank during storage. Petrol degrades, gums form, and the carburettor jets block. This single habit accounts for a large share of hard-starting complaints at the beginning of a new season.
- Mud and crop residue left on the machine. Wet soil holds moisture against steel and promotes corrosion, and dried residue hardens around bearings and seals.
- Blades run past the point of dullness. A dull blade increases engine load, fuel consumption and vibration, which accelerates wear throughout the drivetrain.
- Fasteners never re-torqued. Vibration loosens the bolts that hold the rotor and the engine mounts.
After every working day
This routine takes ten minutes and prevents the majority of long-term damage.
- Clean the machine while the soil is still soft. Mud is dramatically easier to remove immediately than after it dries. Pay particular attention to the rotor housing, wheel hubs and the area around the gearbox breather.
- Inspect the blades for damage. Look for chipped edges, cracks near the mounting holes and missing blade bolts. Replace or re-sharpen before the next session.
- Check oil level on four-stroke models with the machine on level ground and the engine off.
- Verify the air filter element. In dusty conditions, tap out the element daily; wash and re-oil foam elements as the manufacturer specifies.
- Check all accessible fasteners, especially rotor bolts and handlebar clamps.
- Wipe down and inspect control cables for fraying or stiffness — a sticking throttle cable is a safety issue, not merely an inconvenience.
Monthly and mid-season checks
On a machine working several days a week, add these tasks to the schedule.
| Component | Action | Consequence if neglected |
|---|---|---|
| Gearbox oil | Check level; top up to the specified grade | Gear and bearing wear, eventual seizure |
| Drive belt / clutch | Check tension and inspect for glazing or cracking | Loss of drive under load, slipping in heavy soil |
| Fuel filter | Clean or replace | Lean running, hard starting, power loss |
| Spark plug | Inspect electrode colour and gap | Misfiring and difficult starting |
| Bearings and seals | Check for play and for grease leaking out | Water and grit ingress; rapid bearing failure |
| Rotor shaft | Check for wrapping crop residue | Imbalance, vibration, increased load on the gearbox |
| Tyres and wheels | Check pressure and lug condition | Reduced traction and uneven tilling depth |
Chainsaw-specific checks
- Chain tension — adjust after the first few minutes of use on a new chain, then regularly as it stretches.
- Bar groove and oil holes — clean them; a blocked oil hole destroys a bar quickly.
- Chain brake — test function before every session. This is a safety device, not a convenience feature.
- Air filter and cylinder fins — clear debris so the engine breathes and cools correctly.
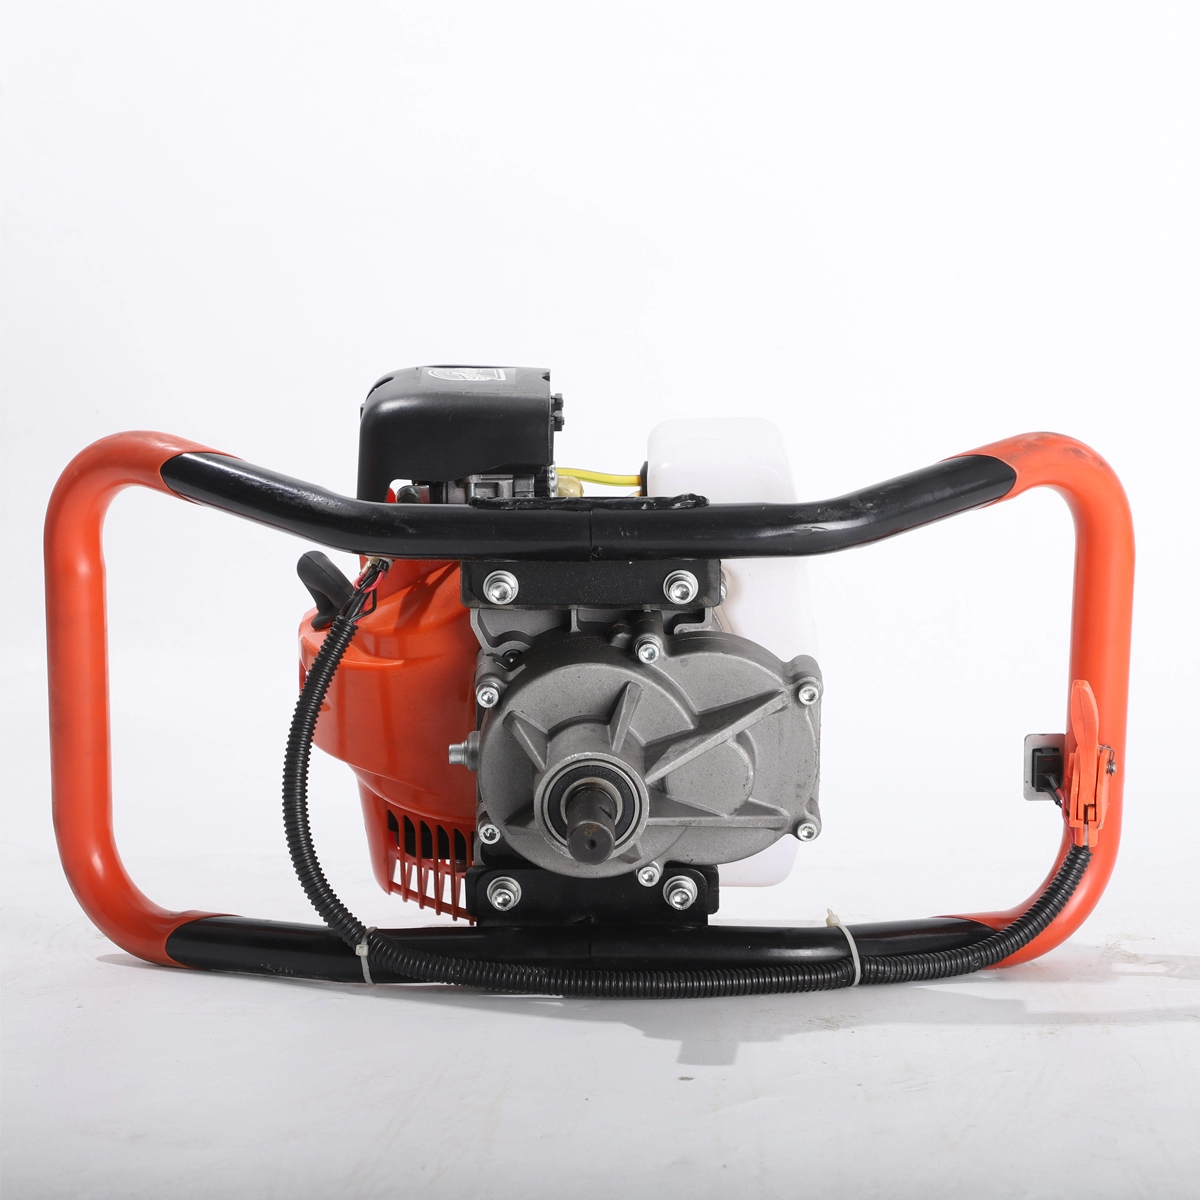
Earth auger-specific checks
- Auger flighting and pilot bit — check for bending and for wear on the cutting edge.
- Gearbox oil — auger gearboxes work under high torque and low speed, the harshest condition for lubricant.
- Throttle and kill switch — verify both operate instantly at the start of each session.
End-of-season storage: the step that decides next year
Most machinery problems attributed to "poor quality" were created during storage. A machine put away correctly starts on the first or second pull a season later; a machine put away wet, with fuel in the tank and soil on the rotor, usually does not.
- Drain or stabilise the fuel system. Either run the engine until the carburettor is dry, or add a fuel stabiliser and run it through the system. Do not simply park the machine with a part-full tank.
- Change the engine oil before storage rather than after. Used oil contains acids that attack internal surfaces over months of standing.
- Remove the spark plug and add a small quantity of oil to the cylinder, then turn the engine over slowly a few times. This protects the bore from corrosion.
- Clean the machine thoroughly, then dry it before covering.
- Sharpen or replace blades, so the next season begins ready to work.
- Grease all grease points and apply a light oil film to exposed metal surfaces and control cables.
- Store indoors, on a dry floor, away from direct ground moisture, with the machine covered but not sealed in plastic that traps condensation.
Pre-season restart procedure
| Step | Action | What you are checking |
|---|---|---|
| 1 | Remove the cover and inspect for rodent damage or corrosion | Wiring, fuel lines, air filter element |
| 2 | Check and top up engine oil and gearbox oil | Lubrication before any load is applied |
| 3 | Fit a fresh fuel mix or fresh petrol | Fuel quality, correct ratio for two-stroke |
| 4 | Inspect and clean the spark plug; set the gap | Ignition reliability |
| 5 | Check blade condition and mounting bolts | Safety and balance |
| 6 | Start and run at idle for several minutes before loading | Fuel flow, cooling, unusual noise |
| 7 | Run a short test pass at reduced depth | Clutch, belt and gearbox under light load |
Step 7 is the one most operators skip, and it is the reason a machine that "worked perfectly when stored" fails an hour into its first real session. Beginning with a shallow, light pass brings the transmission and clutch back up to temperature gradually rather than shocking them with a full-depth load while cold.
Maintenance differences by terrain and machine type
| Operating environment | Maintenance emphasis |
|---|---|
| Dry, dusty farmland | Air filter cleaning is the highest-priority task; dust is the main cause of engine wear |
| Rice paddy / wet clay | Seal inspection and immediate cleaning; water in bearings ends service life fast |
| Orchard and orchard rows | Blade inspection for root and stone damage; check for wrapping residue on the shaft |
| Greenhouse / tunnel | Ventilation and cooling air flow; engines run hotter in enclosed, humid conditions |
| Hillside terraces | Check handlebar mounts and anti-vibration components; also check fasteners more often because vibration is amplified on slopes |
Frequently asked questions
Can I use ordinary petrol in a two-stroke tiller?
No. Two-stroke engines require petrol mixed with two-stroke oil at the ratio the manufacturer specifies. Running on neat petrol destroys the bore and crankshaft bearings in a short time.
How often should tiller blades be sharpened or replaced?
Inspect blades after every working day and re-sharpen as soon as cutting performance drops noticeably. In stony or heavily compacted ground, expect to replace blades at least once a season; blades are consumables and replacing them is far cheaper than the drivetrain damage a dull or unbalanced set causes.
Is it better to store a machine with fuel or without?
Store it empty or with stabilised fuel that has been run through the carburettor. Leaving untreated petrol standing in the system for months is the most common cause of hard starting at the beginning of the next season.
How do I know if a bearing needs replacing?
Grab the wheel or rotor shaft and check for lateral play; then spin it and listen. Roughness, rumbling or visible grease leakage around the seal means the bearing should be replaced before the next season rather than during it.
Need spare parts or maintenance guidance?
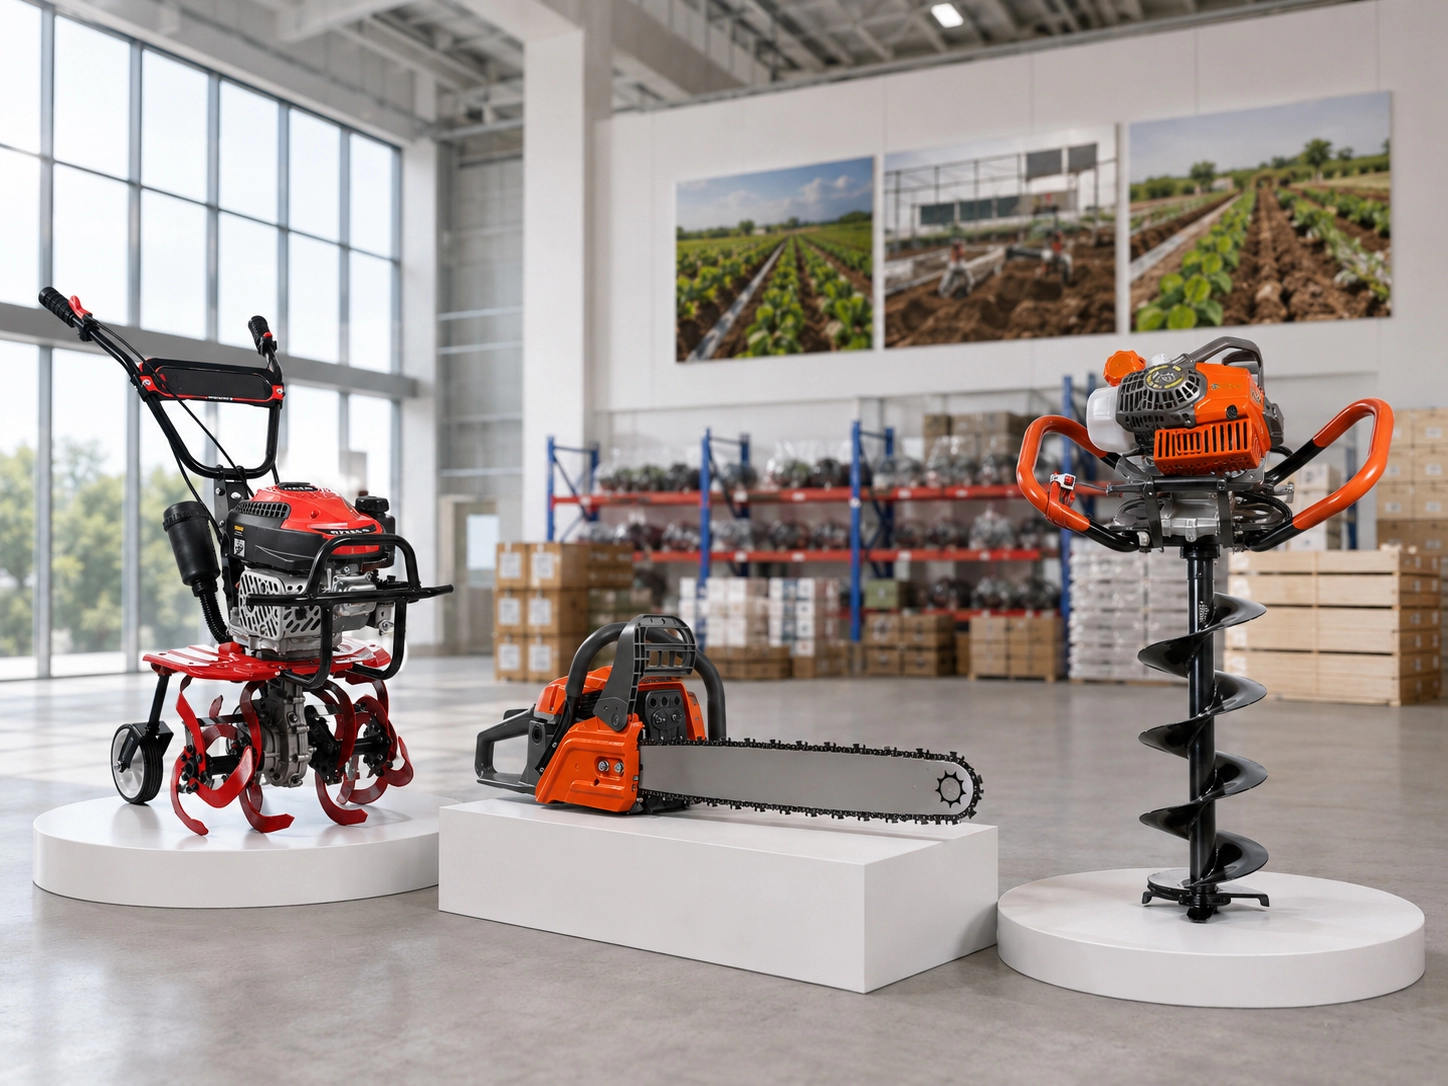
Nacheng Machinery supplies mini power tillers, chainsaws and earth augers together with the spare parts kit that keeps them working — blades, belts, filters and bearings. Contact our export team for the parts list that matches your model.